Transfers
I’ve been experimenting with some amazing techniques to transfer images onto a gel plate, and I’m excited to share my experience with you.
Laser prints
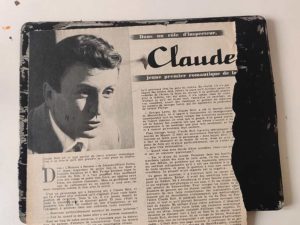
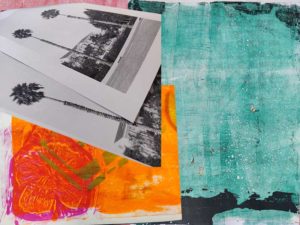
I got the idea from some YouTube videos that made it look easy, so I decided to try it out for myself. I started by preparing some of my photos and converting them to black and white. Then, I went to my local copy shop and ordered some laser prints.
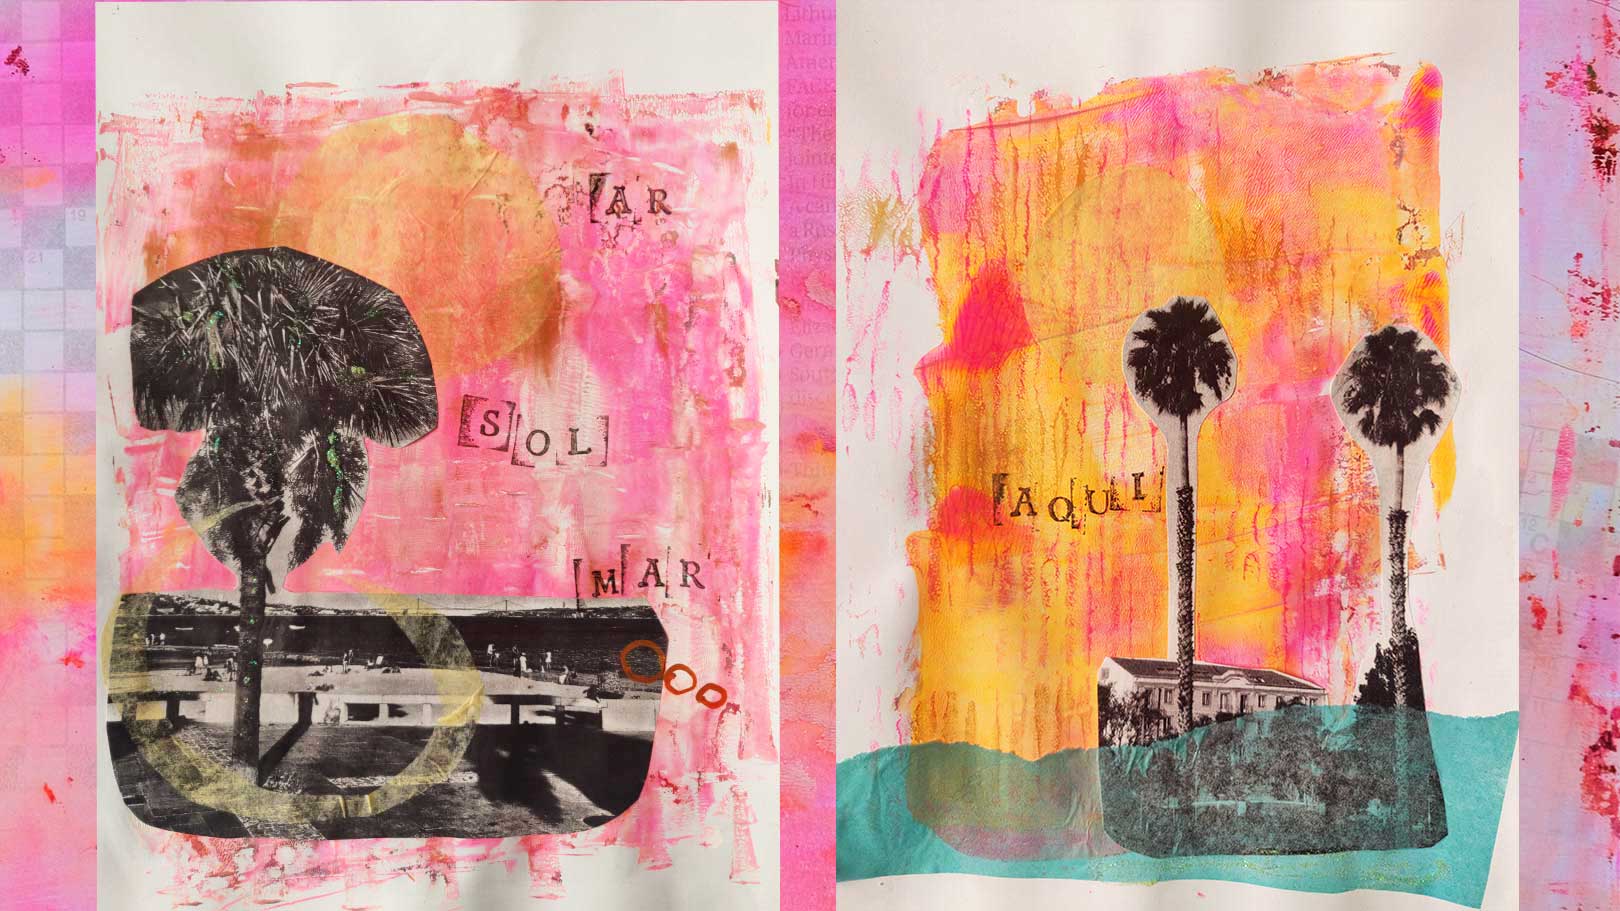
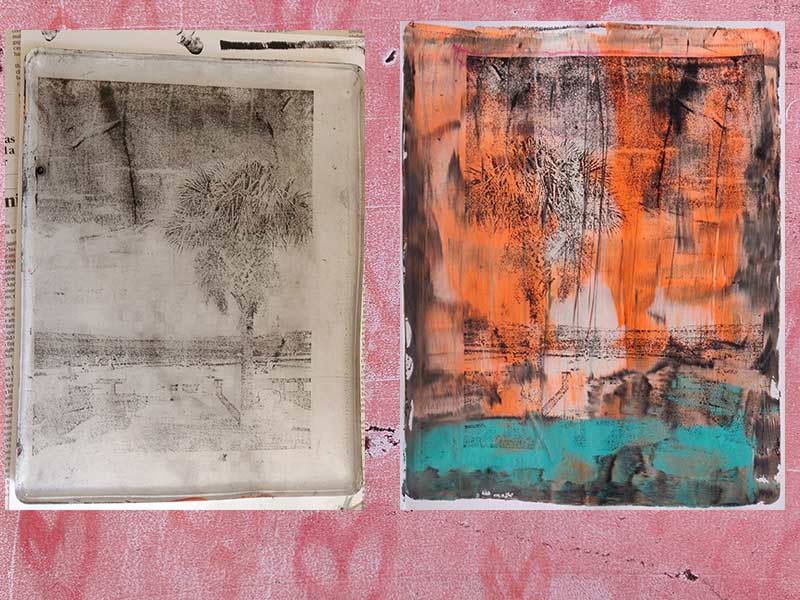
When I tried to transfer them to the gel plate they didn’t really stick on the plate too much. The best result I got was the following: on the left side you can see the transfer on the gel plate and then right when pulled off the plate. Here I used white and orange as the background thin layer to pull it off.
Old Magazines & Newspapers
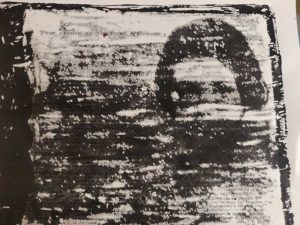
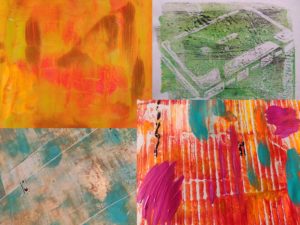
Compared to my previous attempts with laser prints I then tried it with old magazines and newspapers. This method was way more successful, as the ink mainly stuck on the gel plate and I could transfer it to the paper pretty well. The first mistakes I made were the amount of paint I used for the background layer. Sometimes it was too much and then the print smudged. A good way to ensure that the print will pull off very well is to let it dry for at least 20ish minutes.
These are some of the results I got from using old magazines and newspapers:

Using Stencils & Stamps
But gel plate printing is not only for making transfers. It can also be used to make other printing experiments, for example with the help of stencils or stamps. I tried to use some of the old stencils I used for a former project. And I used my block printing stamps from the first subject of my degree in me.
These are the results: You can see the cassette (stencil) and the hibiscus flower (stamp)
Using other Materials
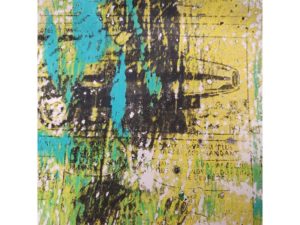
Also in these pictures, you can see the results of using different paints, like neon and gold (I love the gold effect!) and also using different materials to print on. I used thick cardboard which resulted in the vertical stripes. Sometimes it also happens that some of the paint keeps sticking on the gel plate and will only get off on the following print. Like the black parts on the print here on the right. I love the effect. You just never know what you will get!
In another video from yeates makes I learned that you can also use pastels. So I immediately had to try it out and it worked very well! You can see it here;
Printing on different Papers
I not only printed on “normal” copy paper (80gm2) and a bit more sturdy paper (160 gm2) I also printed on kraft paper and different pieces of cardboard. The materials you can print on are so diverse, I guess I could even try wood or fabric next.
Perfect Collage papers!
So I ended up with all these gorgeous prints. What next? I think they make great backgrounds for i.e. collages. And that’s what I ended up creating. In these collages, I combined the gel plate prints with the leftover prints of my photos, some tissue paper, stamps and even some glitter glue. You can see the results in the top picture of this post.
Learnings
While I was creating collages I thought that I should have taken some pictures of the prints themselves as they were so gorgeous. And this gave me the idea for my final project! You can read all about it in my next post!
What do you think of this post? Did it inspire you to try out gel plate printing yourself? Or do you already know it and can give us some tips? Leave a comment and let us know.