After studying my resources for the block printing subject I could now start designing. Today I’ll be going through the process of how I created my designs for block printing, from start to finish.
Gathering Inspiration
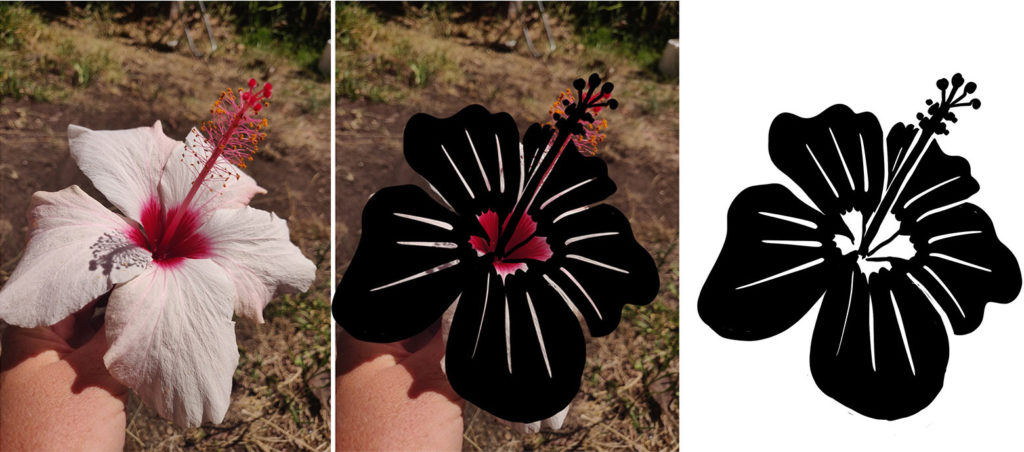
The first step to creating the sketch for my project was to get inspired. I looked through my photos and existing digital paintings in Procreate and Affinity. I found some hibiscus flower photos, noted down the ideas of some of the objects, like rainbow, rabbits (as the Chinese New Year just started and it will be a “rabbit year”) and more and started sketching.
Developing the Sketch
Now that I had compiled some ideas, I started to develop my sketches. Some I did in my physical Sketchbook and some I created in Procreate. There I find it easier to trace photos. With the sketching, it was important to be really clear on where the printing parts and the white spaces were. It is not possible to create details like fine lines or small parts.
Creating the Final Piece
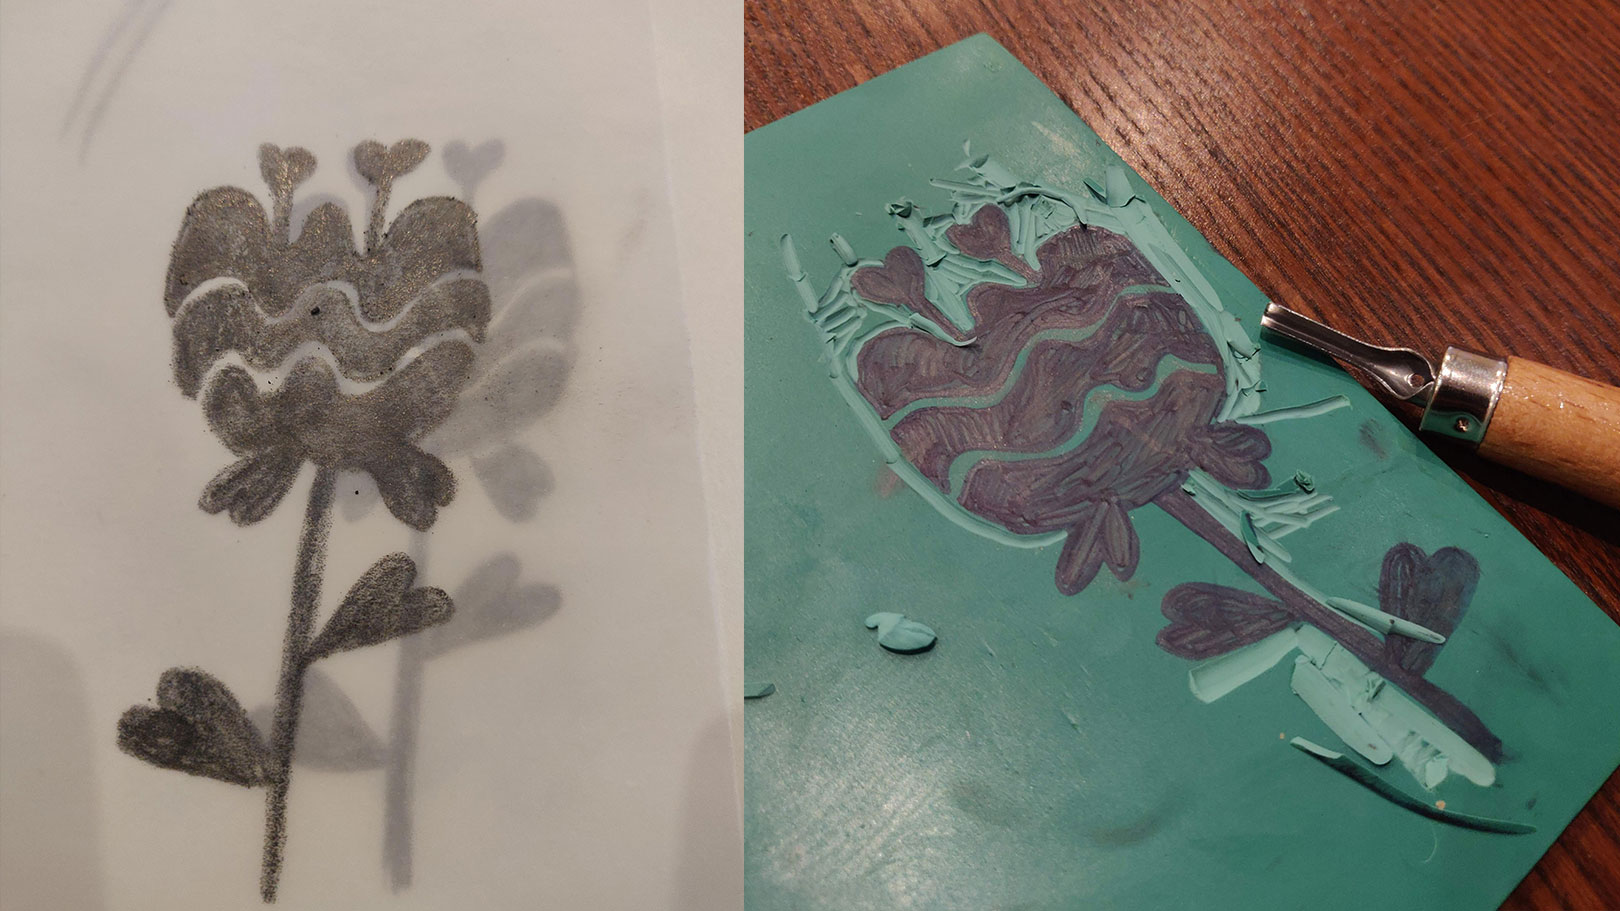
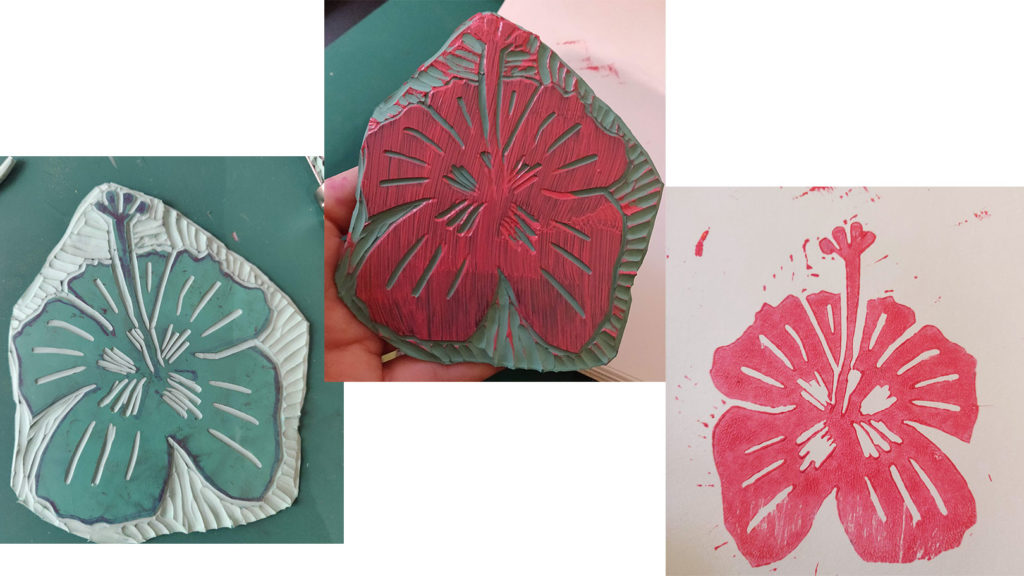
Once the sketches were complete, it was time to create the block. I printed out my sketches, transferred them onto the lino material, and started carving. I was using a linoleum block and used a carving tool to cut away the negative space. For the transfer, I used a very soft pencil on Transfer paper. Once the pencil line was transferred I took a Sharpie to follow the line and fill out the dark (printing) parts.
My learnings
I learned a lot from creating the design and then carving it.
- When creating the design it’s important to keep in mind that the block will be mirrored. So don’t draw directly on the surface – especially if you want to add letters or numbers.
- The carving is quite enjoyable and even has a meditative element to it. But you have to be careful to not cutting your fingers!
- For transferring the pencil design from the paper to the surface using a kind of sharpish object, like a coin is best. Otherwise the pencil lines are not visible enough.
Gallery


Conclusion
I hope that this blog post has inspired you to try block printing too.
If you have any questions or comments about this post, please leave them in the comments section below. I’d love to hear your thoughts and ideas.